I have been playing around a bit with Daz 3D Studio since it was recently made freely available. At first I struggled to find an actual use for the program, then I realized how exceptionally easy it made creating animated sprites. The following tutorial will walk through creating the following walk cycle using Daz Studio:
The above image is actually a web animation generated from this spritesheet that we will create. All told, the process will take about 5-10 minutes, most of it will be you waiting for your computer! If the above image isn’t animating, that means your browser ( most likely Internet Explorer ) doesn’t support the keyframes CSS attribute. Trust me, it works.
You are going to need a couple things to follow along this tutorial, all of which are (currently) freely available.
You will need:
- Daz Studio
- The GIMP image editor
- This spritesheet plug-in for The GIMP
Install all of these products. Now we fire up Daz Studio.
We are going to use the default human, feel free to drag and drop and design your guy however you want. That said, do not move the person from the default screen location.
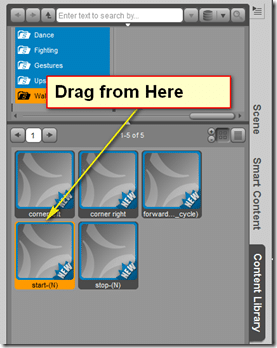
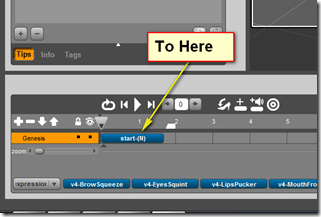
Once your guy or gal is dressed/decorated however you want, its time to add some animations. On the left hand panel, select Content Library, Walks then start-(N) and drag it down to the beginning of the timeline.
Like so:
If done correctly, if you press play your character will now have a walk cycle. You can drag down as many animations as you would like to capture, just add them one after another in the timeline. In this example we are just going to do the single walk cycle animation.
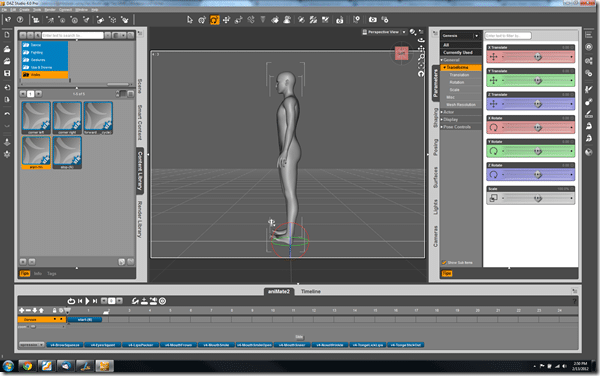
Now comes the key part, you don’t actually want your character to be moving like it does currently, you want him to remain stationary. First lets frame things into the left. Click the view selector box to rotate to the left view.
This is the guy you are looking for, click the red section labeled left. Now ideally your window should look something like this:
Now we need to strip out the movement part from the animation. To do so, first we need to convert to Studio keyframes. This is done by right clicking in the blank gray area above the timeline and selecting Bake to Studio Keyframes, like so:
You will get the following message:
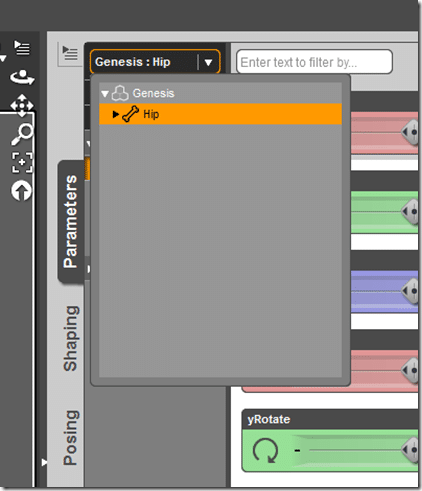
Simply click Yes. Now we can edit out your animation. What we want to do is remove movement along the Z-axis. In order to do this, select Parameters along the right hand panel, then you want to select the Hip ( the root of all animations ). You can do this by either clicking it within the scene Window, or selecting it from this drop down:
Now that you have the Hip selected, in the Parameters panel ALT+Left click the zTranslate panel:
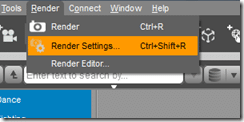
This process should reset it’s value to 0. Now if you press play on the timeline, your animation should now be stationary. Now its time to render our images out. To do so in the menu select Render->Render Settings… like so:
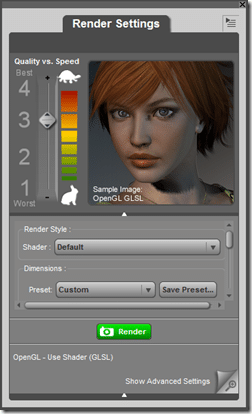
The following window will appear:
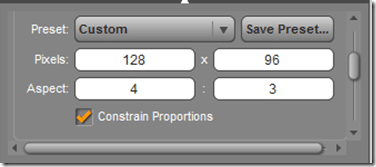
If not already done, make sure at the bottom right it is set to “Show Advanced Settings”. Now drag the quality/speed slider down to 3 ( or it will take forever, for little visible gain ). Now you want to scroll the options down a bit. First we want to set our image render resolution. I personally went with 128×96, but you can use whatever you want.
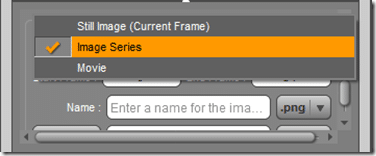
Now scroll the options down a bit more and select the Render To: drop down. You want to select Image Series like this:
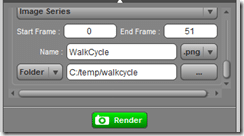
Now we want to select where to render it to. Leave Start and End Frame at the defaults ( the entire animation ), file in a name and leave it as PNG so we get transparencies. Switch the location from Library to Folder and pick a directory you want it to save your renderings to, like so:
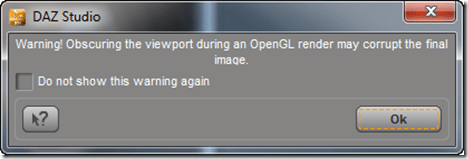
Now click the green “Render” button. You will get a warning like the following:
Simply click OK.
Now we wait… there is absolutely no indication it’s actually doing anything, but Daz Studio is now rendering your sprites. The only real indicator it’s doing anything is the spinning “busy” mouse icon. Let it do it’s thing, it took approximately 4 minutes on my PC.
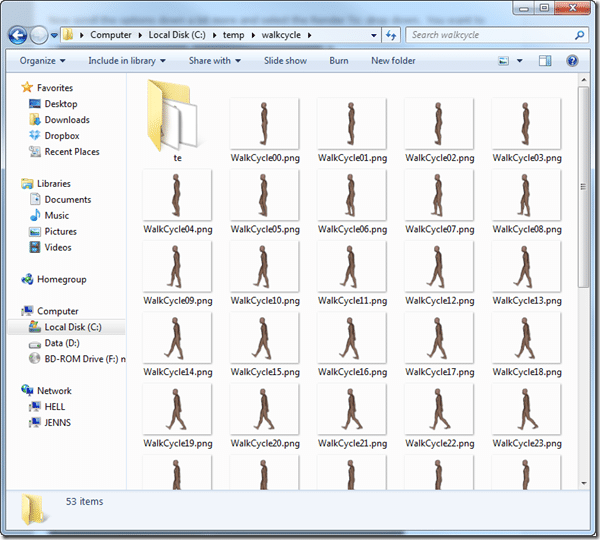
Once it is completed, in Explorer navigate to the directory you told it to render to. If all went well, your directory should be populated with 51 PNG images. Here’s mine:
Now that we have our sprites, we need to make them into a sprite sheet. If you haven’t already, install The GIMP and the sprite sheet plugin I linked earlier. Now load up The Gimp.
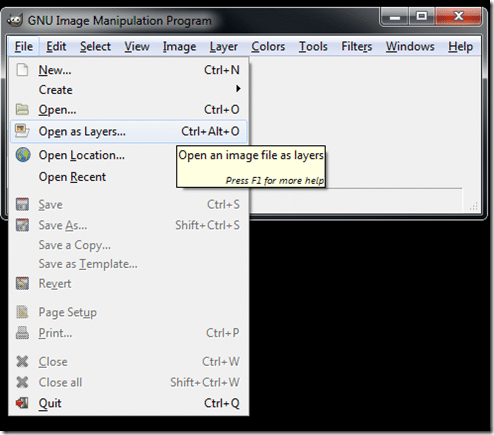
In GIMP select File->Open As Layers…
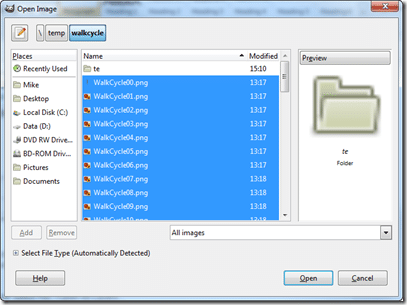
Navigate to the folder you saved your images to, then CTRL+A to select them all ( or CTRL + Click to select them one by one ). When finished press Open:
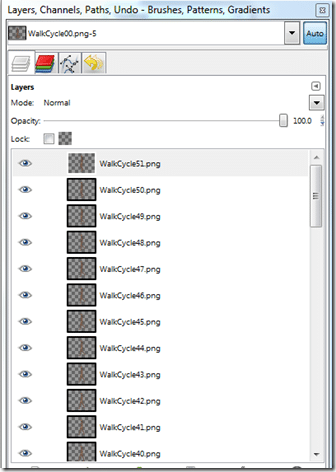
If everything worked correctly, your layers list should look like this:
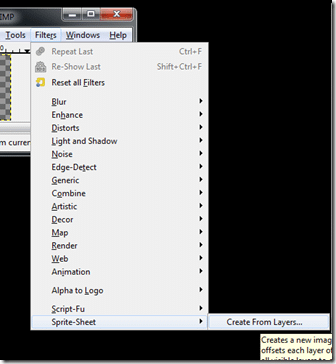
Now select the Filters Menu->Sprite-Sheet->Create From Layers… If this menu option doesn’t show up, you haven’t installed the spritesheet plugin correctly.
Gimp will now merge all of the layers together into a single sprite sheet in a new window like so:
Simply save this file and you are done. My end results are this. You may want to do some editing, like making your spritesheet square instead of one wide and short image, but this can be accomplished in a few minutes of copy and paste. All told, one remarkably fast way to generate a walk cycle sprite animation. Rendering other angles or different animations is simply a matter of repeating the process from a different angle or dragging and dropping different animation sets.
Of course, you can also create your own animations quite simply in Daz. You can also import your own meshes and props, although I haven’t really experienced this part yet, so I do not know how painful the process is.

