One very common requirement for even the most simple game is a level editor. The level of sophistication required varies massively from game to game but a lot of the functionality is pretty common. At the very base level, you need a tool to layout the graphics that make up your world. Slightly more advanced, you need to define layers, properties and collision volumes. Often people roll their own solution but you certainly don’t have to. One very popular 2D level editor is Tiled Map Editor which exports in TMX format, perhaps the most supported 2D game format ( Cocos2D, LOVE, LibGDX and many others all support TMX out of the box ). As I am going to be writing a tutorial about using tiled maps in LibGDX, I figured I would give a quick introduction to Tiled first. Keep in mind, we are only going to scratch the very surface of what Tiled is capable of.
First off, download and install Tiled. It has binaries available for Windows and Mac and a source (and daily builds) release available for Linux. You can download Tiled here. The documentation is available here.
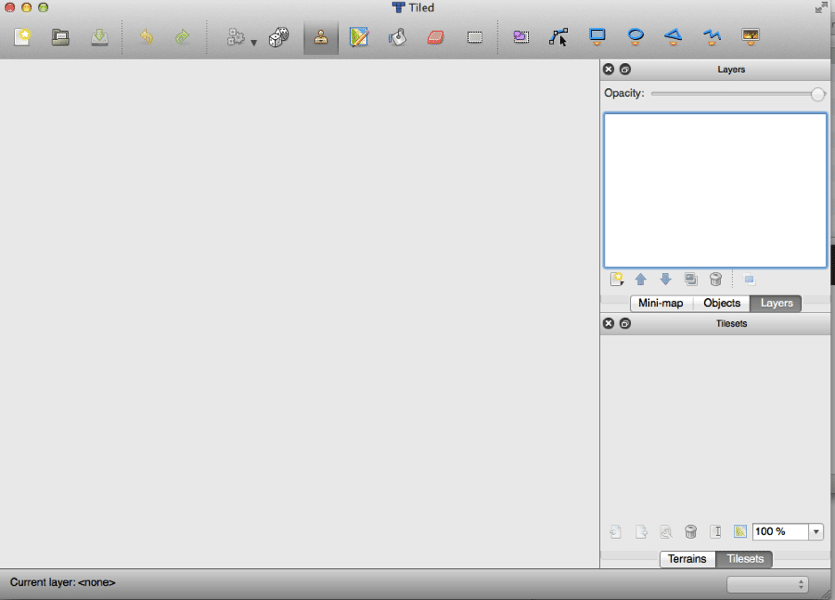
The Tiled UI is pretty straight forward, although it looks quite different across platforms. Today I will be using the MacOS version.
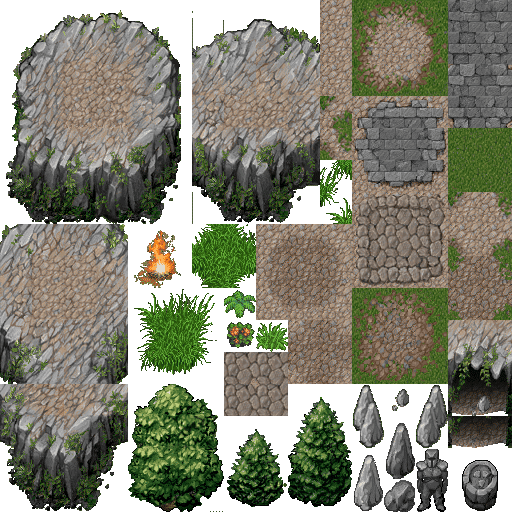
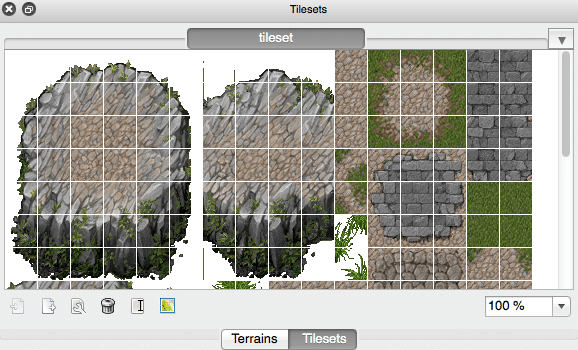
A tiled map is fundamentally simple. You are basically making a grid of tiles. A tile is a fixed size image within a larger image. The larger image is called a tile sheet. It’s somewhat like working with legos to make a level. Here is an example tilesheet ( taken from here ):
It’s a 512×512 image composed of a number of tiles that we are going to paint our level with.
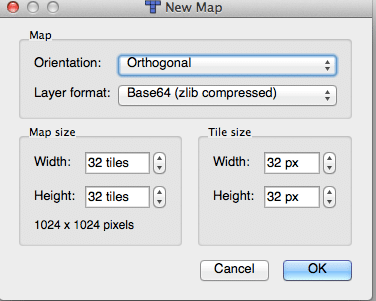
Now that we have our tiles, let’s create our map. Tiled has the ability to create Orthogonal ( straight on or “top down” perspective maps ) or IsoMetric ( angled perspective ). In this example we are creating a Orthogonal map. Next you need to decide how many tiles your map consists of in each direction. Yes, tiled maps are always rectangular in shape. Finally you need to decide your tile dimensions in pixels. Looking at the tile map above it isn’t clear how large each tile is, but that is because some of the larger constructs are actually composed of a number of tiles. You will see how that works in a few seconds, for now simply select 32×32 pixels for tile size and 32×32 tiles for map size. In real pixel terms, this makes our map 1024 pixels by 1024 pixels.
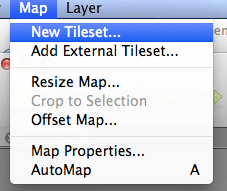
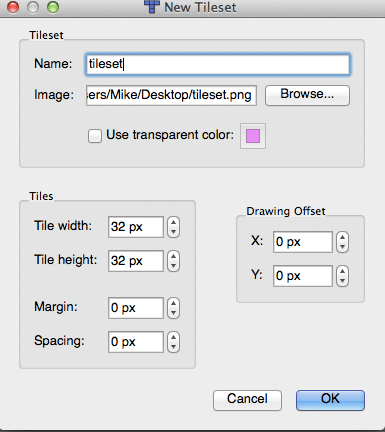
Now we need to load our tile set into Tiled. Select Map->New Tileset
Now in the resulting dialog name it and otherwise we keep the defaults. Our tile set is made up of 32×32 tiles, so those values work. The background colour is used if you use a particular colour colour to mark transparency. In this case we are using the alpha channel to determine transparency, so we don’t need to set a colour value.
Now if you look at the bottom corner of Tiled you will see a grid of tiles available. You simply select a tile, then paint in the right window with it.
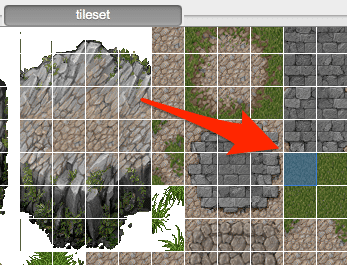
Let’s start by quickly paint our entire map with a grass tile. Click a grass tile in the tile sets window, like so:
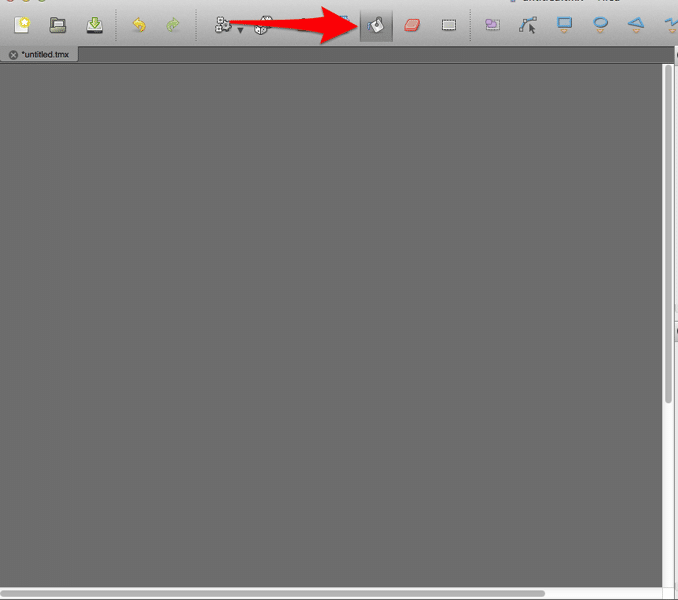
Now in the left hand window, select the Fill Tool ( or hit F ), then click in the window, and it will be filed with the tile selected filling our level with a nice grass base.
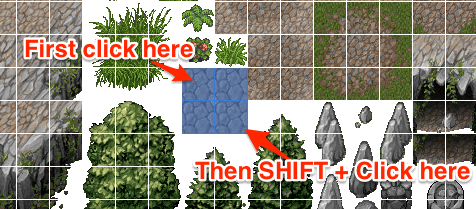
Now lets say we want to quickly fill in some roads. The road tile is actually composed of four separate tiles. This is easily handled in Tiled, simply click the top left tile in the tile set window, then holding SHIFT, click the bottom left, like so:
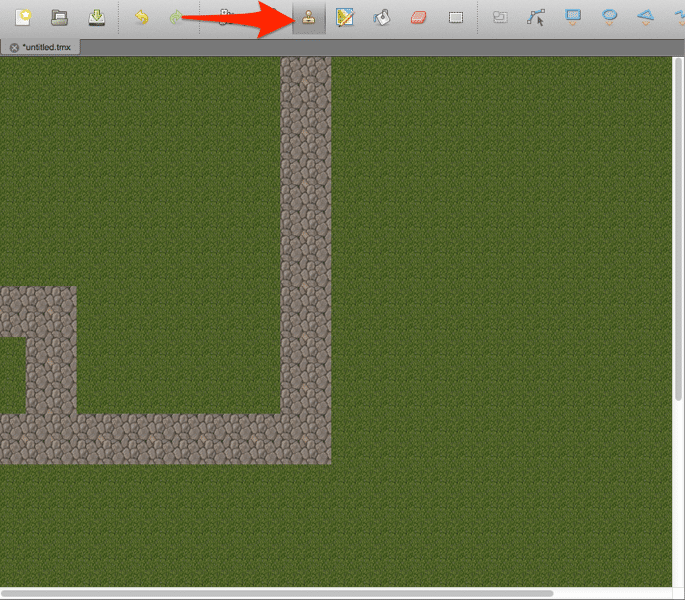
Now you can draw with all four tiles at once by simply clicking on the map. First select the Stamp tool, then draw out the tiles as you desire:
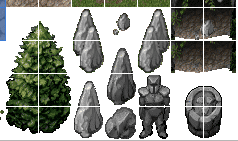
So, what about the tiles with transparent sections like these ones?
Well these are designed to be layered over top of other tiles. Which leads us nicely to layers. If you have ever used Photoshop or GIMP, you probably already have a pretty good understanding of layering. Basically layers are drawn over top of lower layers. So for example, what you draw in Layer 2 is drawn over top of what you draw in Layer 1.
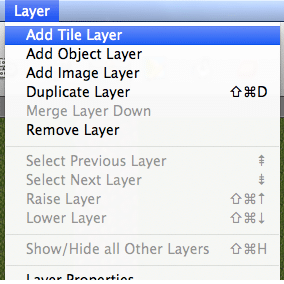
Right now, we only have a single layer, let’s add another one. In the top menu, select Layer->Add Tile Layer.
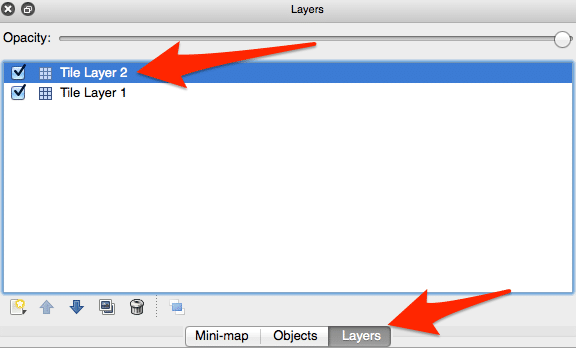
Now in the Layers panel you should see a second layer available. Clicking the checkbox to the side of the layer shows/hides it’s contents. Clicking the layer itself makes it active. Click Tile Layer 2.
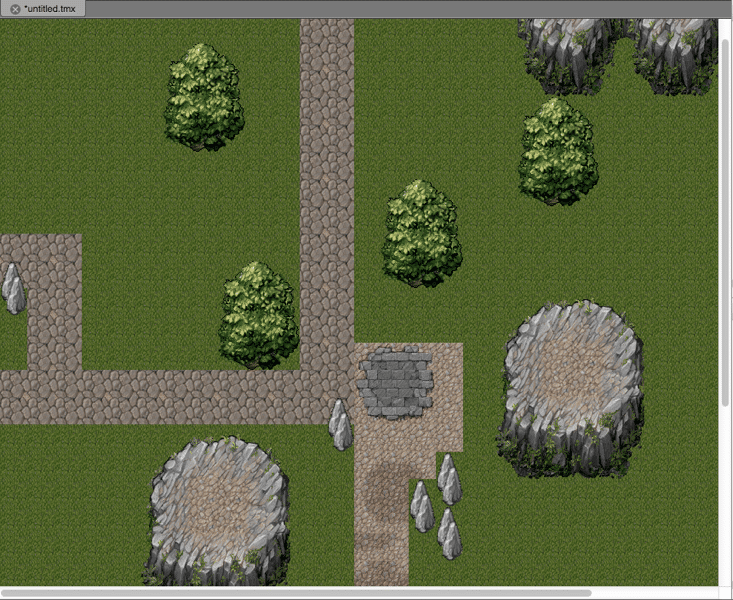
You can now paint “over” the grass and road layer, like so:
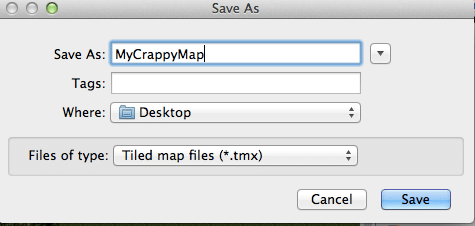
Congratulations, you’ve just created your first map. Now we simply save it.
Next we will take a look at using this map in code in LibGDX.

