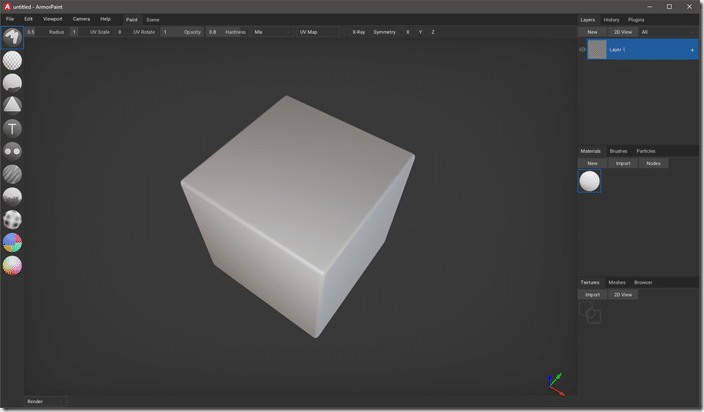
ArmorPaint is an open source competitor to Substance Painter, from the creator of the Armory game engine (tutorial series available here). It is available for just 16 Euro in binary form, but can also be built from source code. This guide walks you step by step through the process of building ArmorPaint from source.
There are a few requirements before you can build. Download and install the following programs if not already installed:
- Git
- NodeJS
- Visual Studio Community 2017 or 2019 (With C++ Workload)
- 7Zip
The first step, we clone the repository. Make sure to add the –recursive flag(that’s two ‘-‘ by the way).
Open a command prompt, cd to the directory where you want to install ArmorPaint’s source code and run the command:
git clone –recursive https://github.com/armory3d/armorpaint.git
Depending on your internet speed this could take a minute to several minutes while all of the files are downloaded.
In Explorer, go the installation directory, then navigate to armorpaintKromxV8Librarieswin32release and using 7zip extract v8_monolith.7z to the same directory as the .7z file.
Next in the command prompt run the following commands
(Assuming you are reusing the same CMD that you did the git clone from)
cd armorpaint
node Kromx/make –g direct3d11
cd Kromx
node Kinc/make –g direct3d11
explorer .
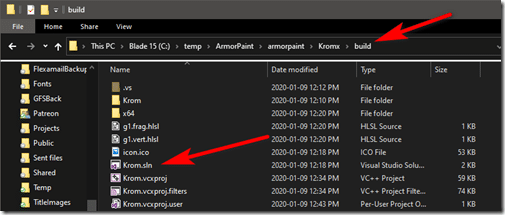
If you receive any errors above, the most likely cause is node not being installed. The final command will now open a Windows Explorer window in the Kromx subdirectory. Open the build directory and load the file Krom.sln.
This will open the project in Visual Studio. If you haven’t run VS yet, you may have to do some initial installation steps. Worst case scenario, run through the initial install, close and double click Krom.sln again.
First, make sure that you are building for x64 and Release mode at the top:
In the Solution Explorer, select Krom then hit ALT + ENTER or right click and select Properties.
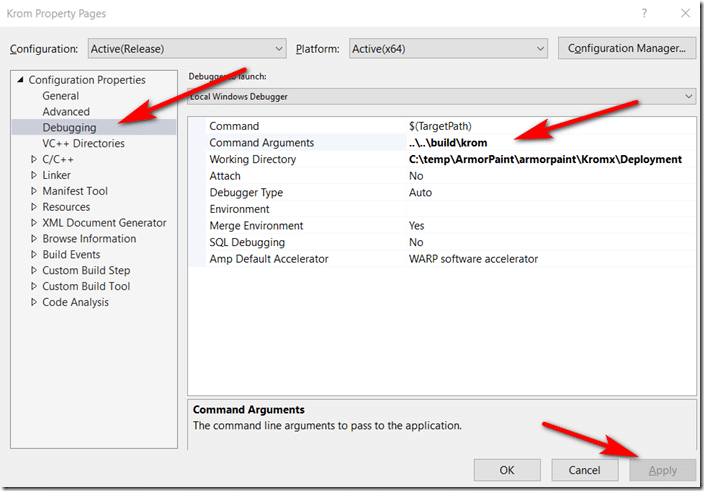
Then select Debugging, in Command Arguments enter ….build.krom then click Apply.
You are now ready to build ArmorPaint. Select Ctrl + SHIFT + B or select Build->Build Solution.
Assuming no errors, are exe should be built. Now go to the folder armorpaintKromxbuildx64Release and copy the file Krom.exe, then copy to armorpaintbuildkrom. You can now run Krom.exe and you’re good to go.
Step by step instructions are available in the video below.


