In case you’ve never heard of it, LibGDX is a Java based game library capable of targeting iOS, Android, Desktop ( Windows, Mac and Linux ) and HTML5. It provides a full suite of 2D game functionality including Input, Graphics, Fonts, Physics, Storage and increasingly, 3D. So basically LibGDX is pretty much a one stop game 
EDIT: Sept 9/2014
The setup process changed slightly again. On the bright site, it’s easier now, read here.
EDIT: Jun 24/2014
** IMPORTANT READ ME **
The process for creating a LibGDX project has changed substantially since this post was created. There is now a Gradle based application that makes creating new projects much simpler and allows you to use IDEs other than Eclipse.
Read this post on getting started. The portions of this post on running/debugging in Eclipse should still be valid. For configuring IntelliJ IDEA to run LibGDX applications, refer to this post.
** END IMPORTANT READ ME **
The first part of getting started with LibGDX is installation. If you haven’t got a Java/Android development environment set up yet, this portion is going to be a bit annoying. In a nutshell you need to install in order the Java JDK, Android SDK, Eclipse, then Google ADT and finally the Google Plugin for Eclipse ( for GWT ). I am not going into specifics about how to install all of these, however I went into pretty extreme detail in these instructions for setting up PlayN that cover most of the Eclipse related configuration. If you run into a problem during the install, those instructions might help. The process is actually pretty straight forward, it’s just long. Oh yeah, one more thing you are going to need of course is LibGDX itself! You can download it here. In my limited experience, the nightly builds are actually pretty safe to use. Common sense dictates you should use the stable version, but I am neither common nor sensible, so I’m going to risk it.
From this point on, I am going to assume you have a properly configured Eclipse install. I am no huge fan of Eclipse and you have other options like NetBeans ( instructions ) or IntelliJ ( instructions ), but they are the less supported and slightly more complicated route. Like it or not, if you are working with Android, Eclipse is still the path of least resistance. Android Studio is a very encouraging option but sadly it’s Android focus make it a poor fit for LibGDX.
OK, let’s get started…
If you haven’t already, unzip the LibGDX archive somewhere. I personally went with C:devlibgdx-0.9.8. Keep the zip archive however.
Located and double click gdx-setup-ui.jar in the root directory of the libGDX.
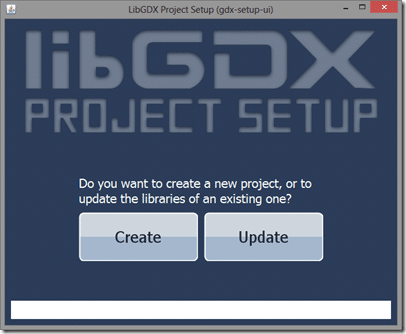
The following Window should load:
If it doesn’t, you appear to have a problem with your Java install.
Click Create.
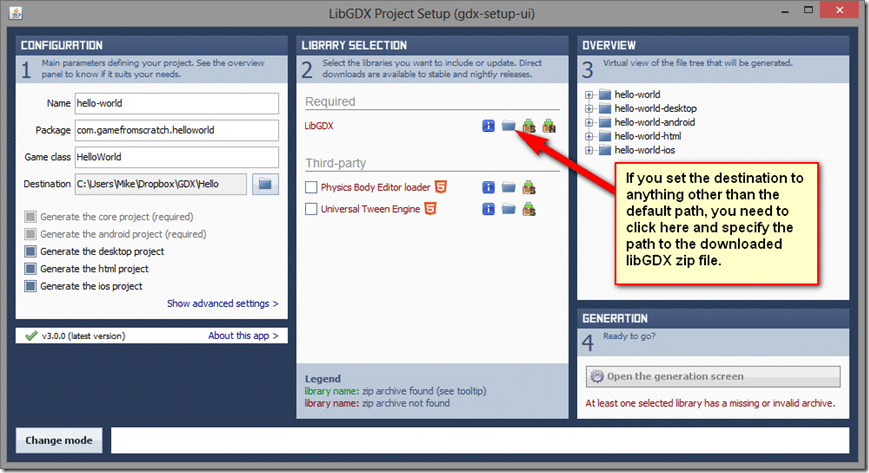
Fill in the resulting dialog. You can see the values I used above. You can optionally create a desktop, html and ios project. The core and Android projects are mandatory. Note, if you change the destination, you will have to specify the path to the LibGDX zip file.
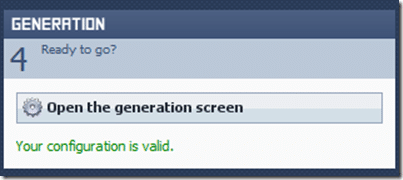
Once you’ve specified the LibGDX path ( or if you didn’t change Destination ), the Generation button should be enabled:
Click it.
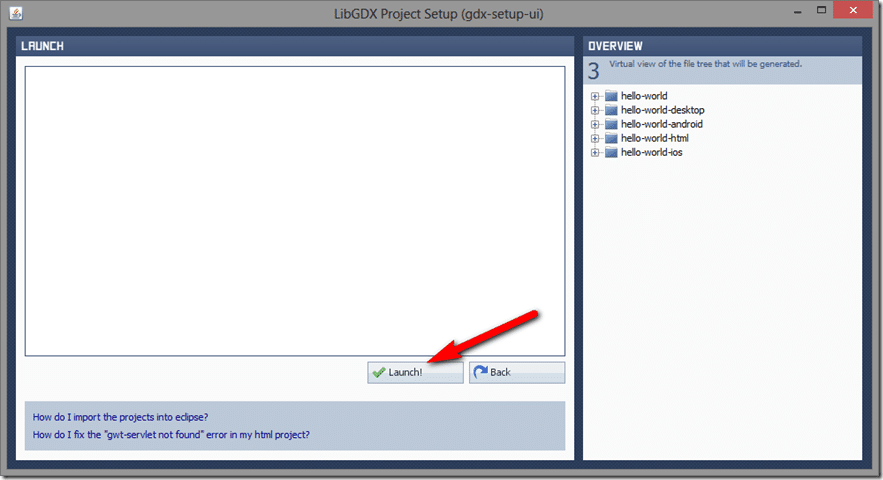
The following screen appears:
Click Launch.
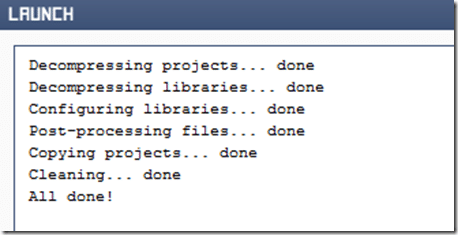
All things according to plan, you should see:
If you don’t see the above messages, welcome to the LibGDX forums. StackOverflow is another good place for LibGDX related support as there are already 1,500 LibGDX tagged questions.
At this point we are done with the setup tool, you can close it. If you navigate to folder you specified as the destination, you should see the following folder structure:
It should mirror the platforms you selected during setup.
Now it’s time to fire up Eclipse.
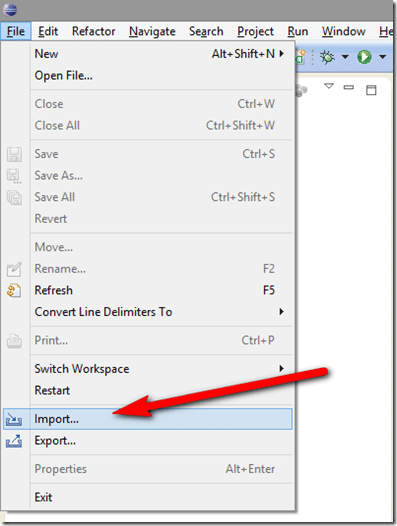
Now select File –> Import
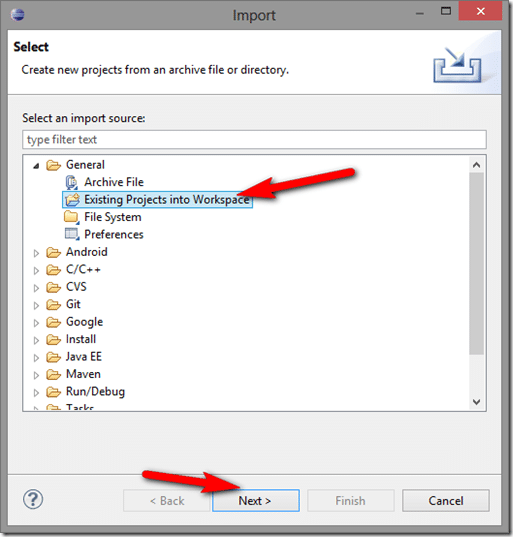
Then select General->Existing Projects into Workspace and click Next.
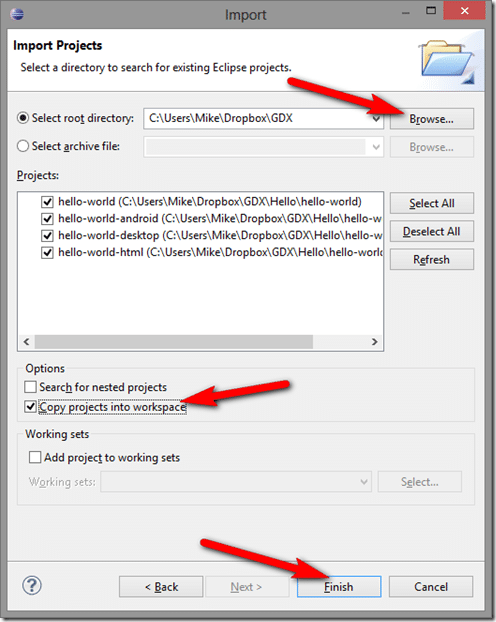
Then the following dialog will appear:
With Select Root Directory checked, click Browse and navigate to the folder you chose as a destination earlier. You should then see a list of available projects, all of which should be checked. Then optionally choose if you want the project file copied within your Eclipse workspace. When complete click Finish.
Now you should see:
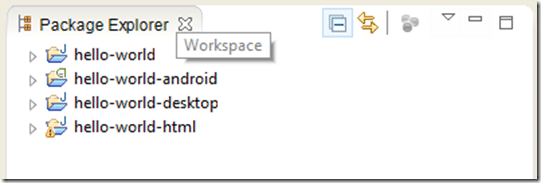
hello-world ( or whatever you named the project ) is the common project, while each additional platform has a –platform suffix.
Running the desktop project
Let’s run the Desktop project now.
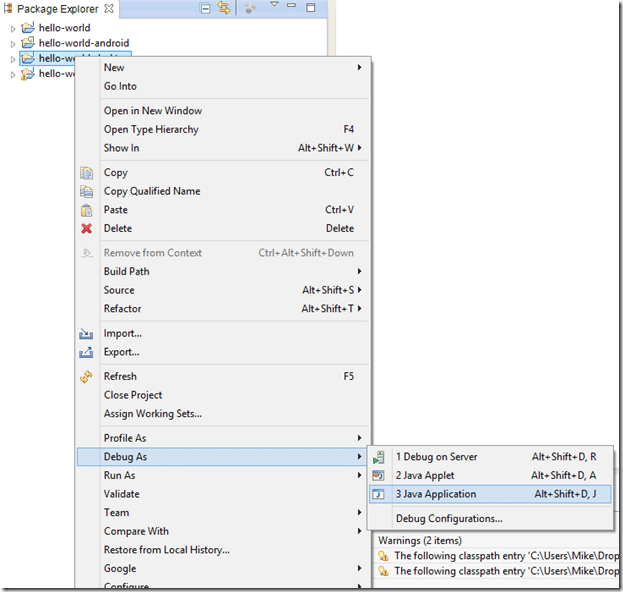
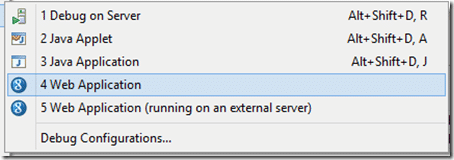
Right click helloworld-desktop, select Debug As->Java Application:
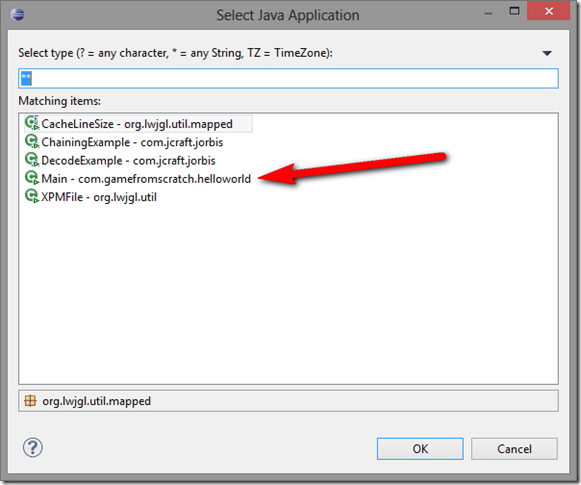
A dialog will appear and ask you what you want to run. Locate your project main, then click OK.
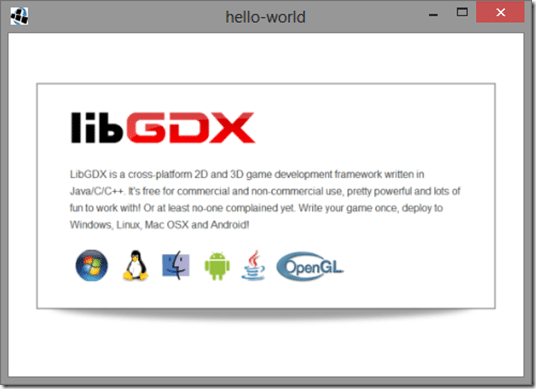
Congratulations, your first ever LibGDX application!
Running the HTML project
Now try the same thing with the html5 appllication, right click, this time select Debug As->Web Application
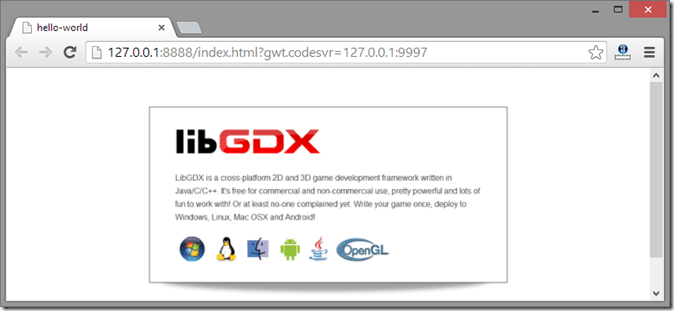
A few seconds later you should see:
Double click the link and:
By the way, if you are running Chrome on WIndows 8, expect trouble. This is why I hate working with Google tools… anyways, the 5th suggestion in this post fixes the problem. Or you could just use Firefox.
When working with HTML5 builds in Eclipse, there is something you should be aware of. Running the web application again in the way listed above will fail. It will try to start another web server and find the built in one already running and throw up. You have two options, both in the Development Server window.
You can either use the red stop icon to shut down the internal web server, allowing you to run it using Debug As->Web Application. Or you can hit the yellow arrows to reload your code.
Running an Android Project
When it comes to running an Android application, you’ve got a couple options. First you can plug in an actual device. If you use a device, make sure the ADB driver for it has been installed. The ADB usb driver is part of the Android SDK. This is by far the best way to work with Android.
If you don’t have a device, you can instead run the emulator. If Eclipse doesn’t detect an attached device, it will try to launch the emulator. If it cant find an emulator, it will fail. Just a heads up, working with the emulator, especially for games, SUCKS. Get a device, really, trust me on this one.
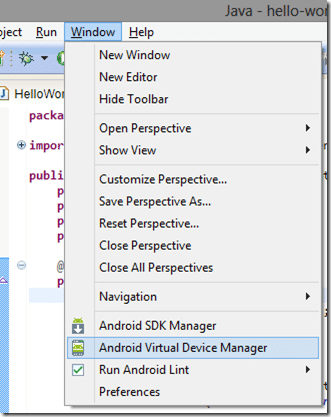
If you haven’t got a device and havent created an emulator yet, do so now. You can do it from within Eclipse. Select Window->Android Virtual Device Manager.
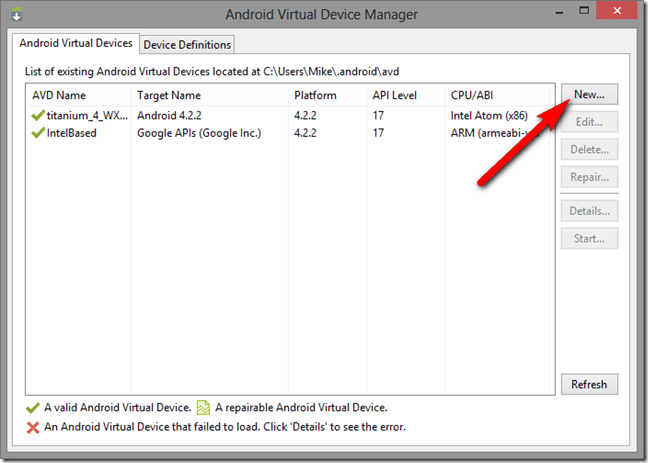
In the resulting dialog, click New:
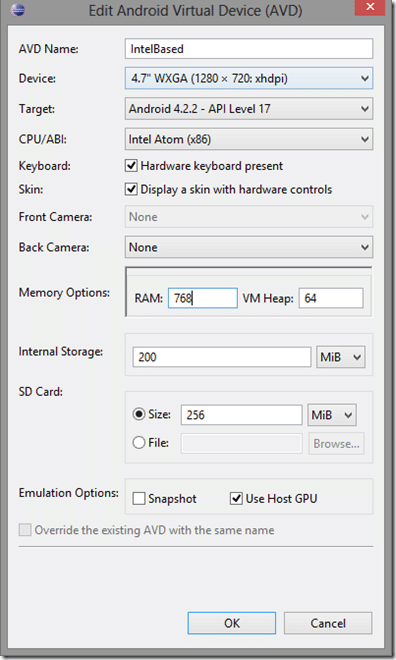
Here is an example I’ve used. Prefer emulating the Intel Atom chipset, it runs much faster. If you are running an Intel chipset with HyperVisor support install the Intel Hardware Accelerated Execution Manager which can be downloaded here. Or better yet, get a real device. Did I mention that already?
The emulator is notoriously fragile, you will come to hate it quickly. Did I mention you are better off getting a real device?
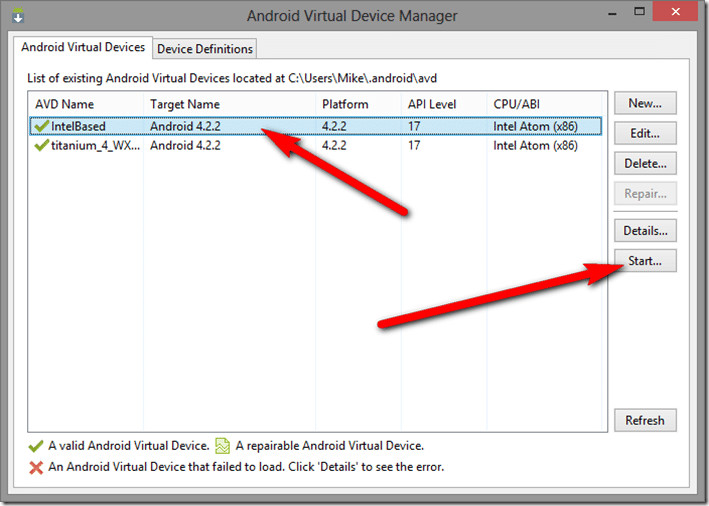
Now that your emulator is created, select it and click Start…
Go make some tea…
Drink your tea…
Perhaps a few crumpets? A bagel perhaps?
Oh, hey, happy birthday!
Congratulations on your first born!!
Ok, it should be loaded now. For the record… leave the emulator loaded.
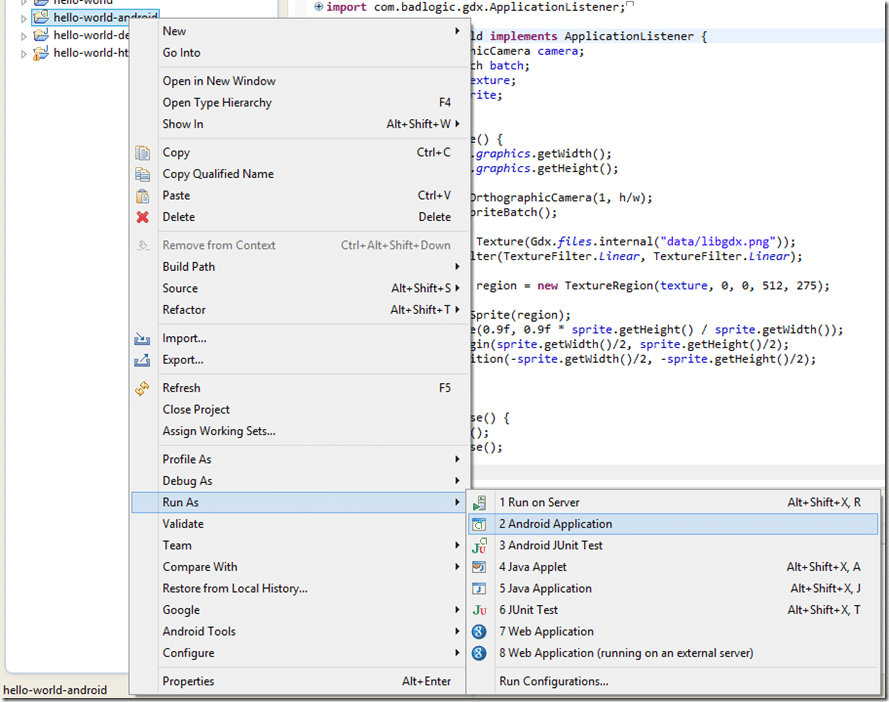
Now you can run your Android application using Debug As or Run As->Android Application
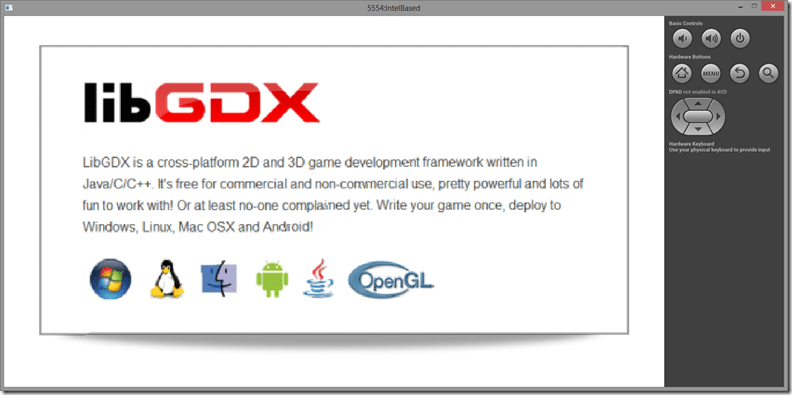
And a few moments later, you should see:
Back in Eclipse, get to know and love LogCat.
It’s a great source of Android debug information. This is where all trace, debug and error information is displayed.
So, what about iOS. Well first off, I’m running on Windows right now, so there is no option. Second, libGDX is currently in a bit of a transition state. Previously it relied on MonoDevelop to deploy to iOS. Now it is transitioning to RoboVM for iOS support. In the future I may specifically cover deploying to iOS… when I am on my Mac would be a good start!
In the next part we will look closer at project layout as well as get down to some coding.

