This tutorial covers the process of getting Cocos2D-html setup and running. If you
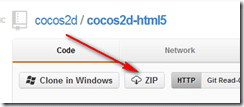
First thing you need to do is get the cocos2d-html5 sources, which you can download here.
Locate the zip icon, as demonstrated in the picture to your left, click it.
Save the resulting download anywhere, just remember where you save it, we will need it in a few moments.
Now we are going to install a webserver. This part is strictly optional, but if you want to take full advantage of the cocos demos, you are going to want a webserver installed. It will also allow you to access your creation from different machines. Besides, it’s a fairly simple process. These instructions are for Windows only.
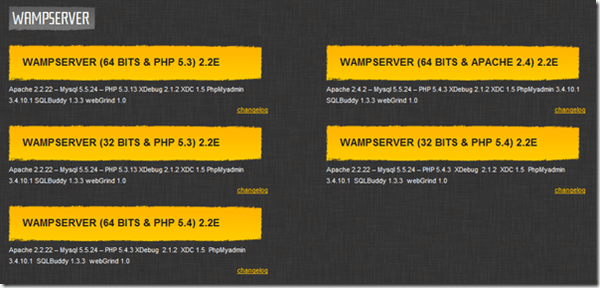
Now head over to WAMP and download their server. The WAMP server is an all in one install of Apache, MySql, PHP and a few other applications, in many ways it is complete overkill, but like I said, it’s easy. Pick whichever version is most appropriate, it doesn’t really matter which, so long as you choose the right one for your processor ( 32 or 64 bit ).
Now run the installer. I choose the default value for every entry and let it install to C:wamp. If you saved to a different directory, adjust your path’s accordingly later on in this tutorial. It is going to ask you to pick your default browser and default out to explorer.exe ( the shell, not to be confused with Internet Explorer the browser ). You can explicitly choose a browser if you want but there is little reason to do so. When prompted for mail settings, simply take the default. WAMP server will now be installed and running in your system tray.
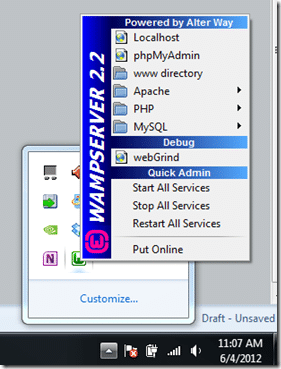
Like such. Left clicking the tray icon will bring up the menu shown above. Click localhost to see your webserver in action.
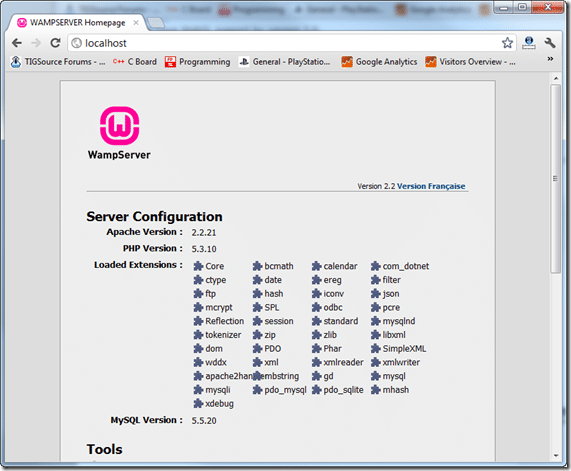
If everything went according to plan, you should see:
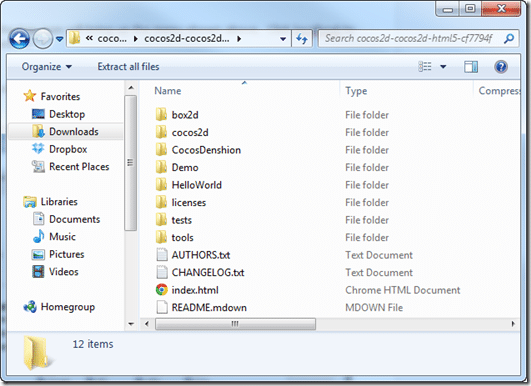
Now we want to extract the cocos2d-html archive we downloaded earlier. Open up the zip and navigate the folders until you find a directory that looks like such:
CTRL+A select the entire contents of this folder in the zip and paste it to C:wampwww.
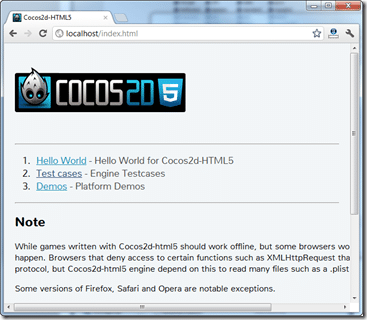
Now in your browser, you should be able to navigate to localhost/index.html and you will see:
If so, congrats, you have successfully set up Cocos2d for HTML5. If not, make sure you have the proper contents in c:wampwww, and that it’s not buried in a subdirectory. Now optionally you can open access to it up a bit so other computers on your network can see the website. I am by no means an apache expert ( was born and raised on IIS ), so do not take this as authoritative in any way!
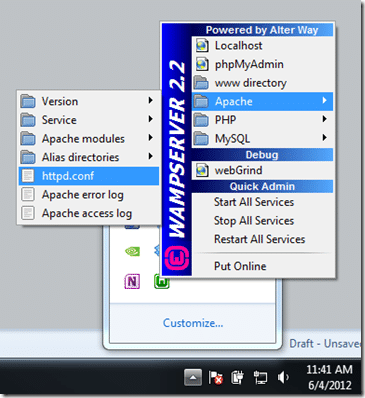
You want to edit httpd.conf, which you can do from the tray icon, like such:
Find and locate the following entries to match what I’ve done here ( with your IP address obviously ):
Set your IP and port to listen on, entry was originally Listen 80:
Set the server name to your servers name, or if you haven’t got DNS configured ( such as yourserver.yourname.com ) use your IP address like I have:
# # ServerName gives the name and port that the server uses to identify itself. # This can often be determined automatically, but we recommend you specify # it explicitly to prevent problems during startup. # # If your host doesn‘t have a registered DNS name, enter its IP address here. # ServerName 192.168.2.103
Finally, grant access to your www folder:
<Directory “c:/wamp/www/“> # # Possible values for the Options directive are “None“, “All“, # or any combination of: # Indexes Includes FollowSymLinks SymLinksifOwnerMatch ExecCGI MultiViews # # Note that “MultiViews“ must be named *explicitly* —– “Options All” # doesn‘t give it to you. # # The Options directive is both complicated and important. Please see # http://httpd.apache.org/docs/2.2/mod/core.html#options # for more information. # Options Indexes FollowSymLinks # # AllowOverride controls what directives may be placed in .htaccess files. # It can be “All“, “None“, or any combination of the keywords: # Options FileInfo AuthConfig Limit # AllowOverride all # # Controls who can get stuff from this server. # # onlineoffline tag – don‘t remove Order Allow,Deny Allow from all </Directory>
You should now have full access to your webserver folder from other machines on your network ( and externally if you don’t have a firewall or have port forwarding configured ). You can of course tweak the security settings until the cows come home.
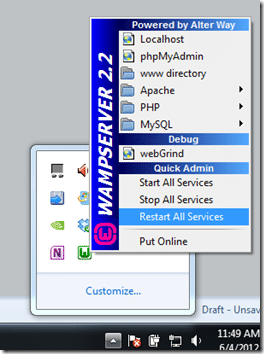
Now, save your changes and restart your apache server, this can again be done from the tray icon, simply left click and choose Restart All Services. If your icon doesn’t turn green, you have made an error in the httpd.conf file.
Again, the entire server portion is optional, you can just work from the local file system, but this allows you to make use of the full demo and test suite.
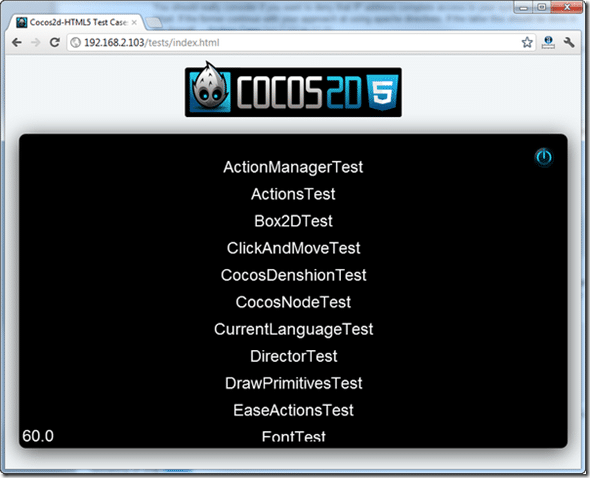
Speaking of which, if you now open your browser to http://yourserverIP/tests/index.html you should now have access to all the various cocos2d tests, like such:
Now you are set up and ready to go. In the next tutorial, we will actually get to some coding.
Read tutorial 2

