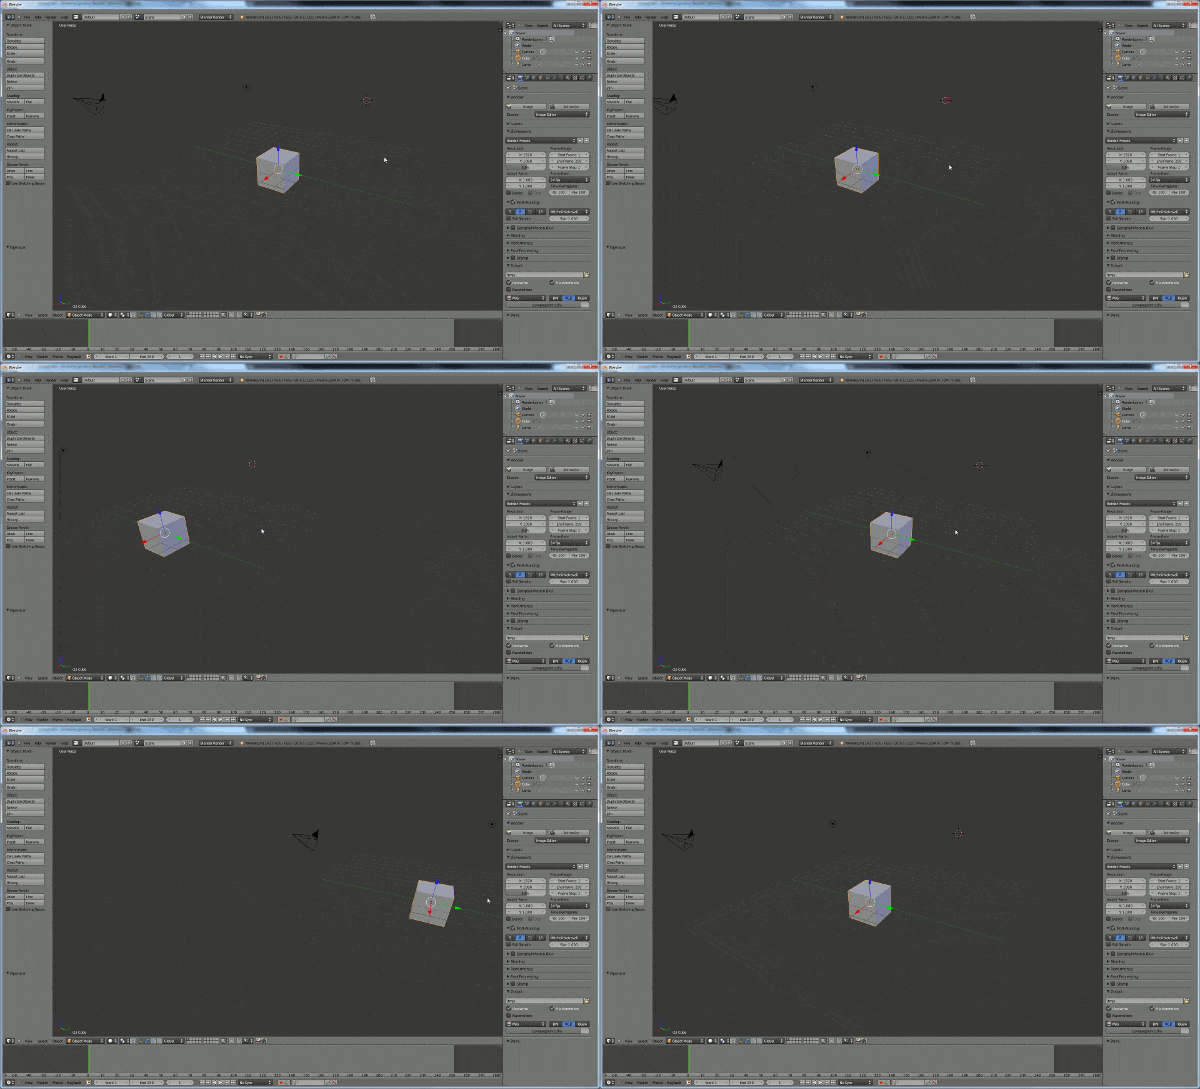
In this section we are going to cover navigating the Blender interface. This includes both selecting items, and controlling the application camera. It is important to realize that the app camera or view, is not the same as a scene camera. A scene camera is used if you are rendering your graphics to an image or movie and we will cover that later.
Selection in Blender
First off, you can select an object in one of two ways. First you can right click the object in the 3D view. Secondly, you can select the object by left clicking it in the Scene graph.
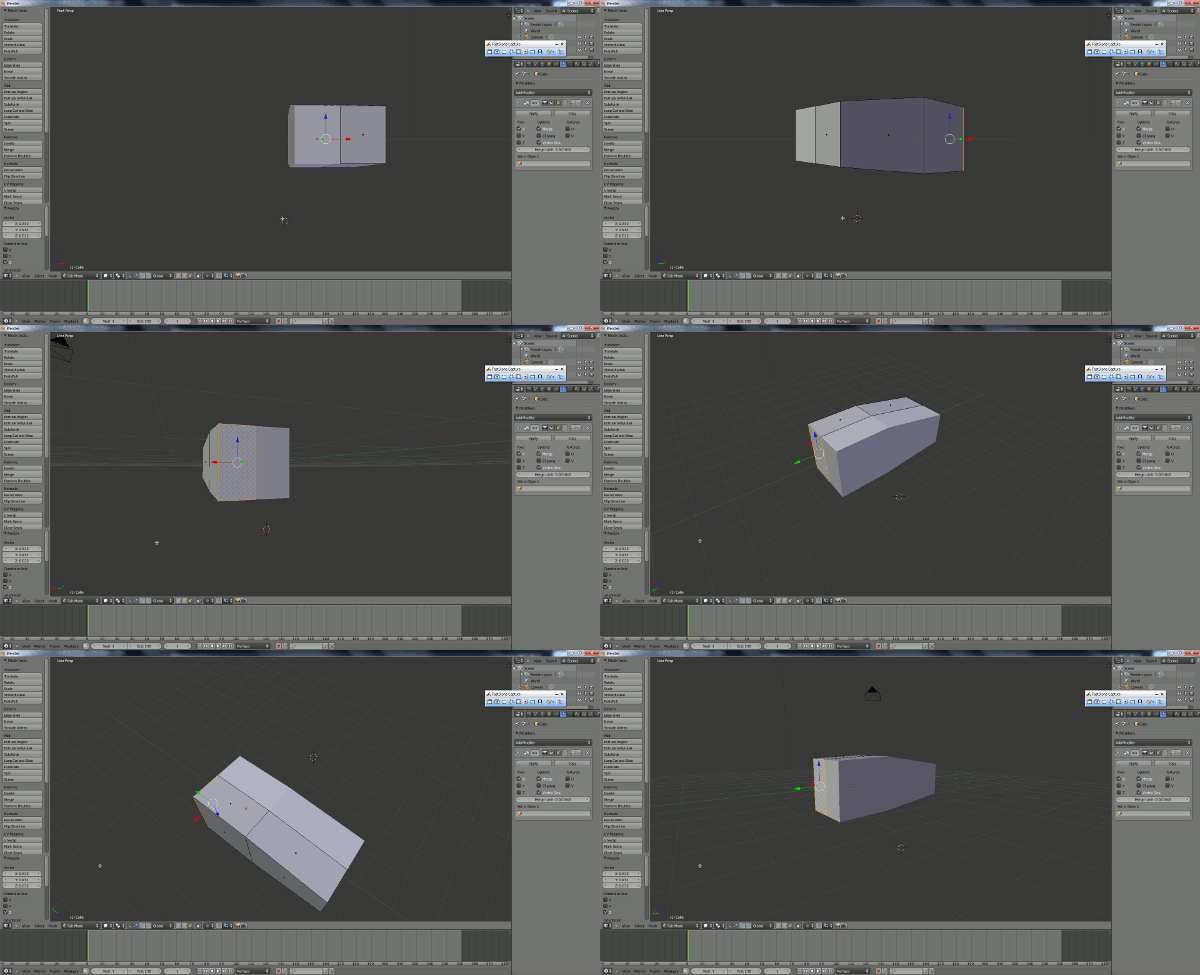
You can perform more advanced selections in Blender as well. Note, within all the images below, it illustrates selecting within an object, something we will cover in detail later. Just be aware that the selection tools work on selections within an object, or selecting multiple objects, depending on the mode you are working in.
Select/Deselect All
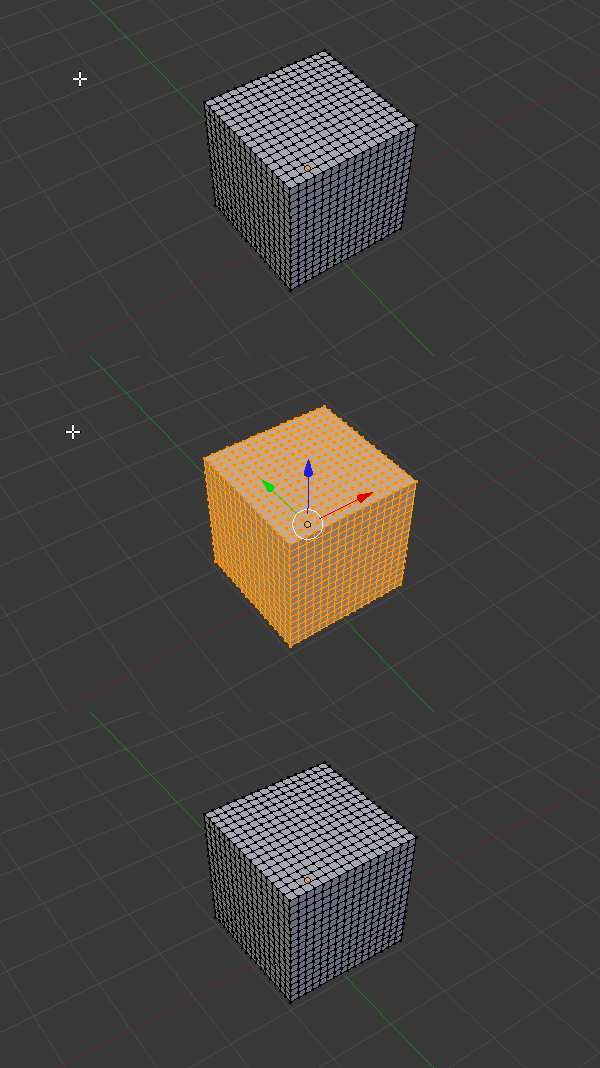
Simply press A to select everything in the scene. Press A again to deselect everything:
Box or Border Select
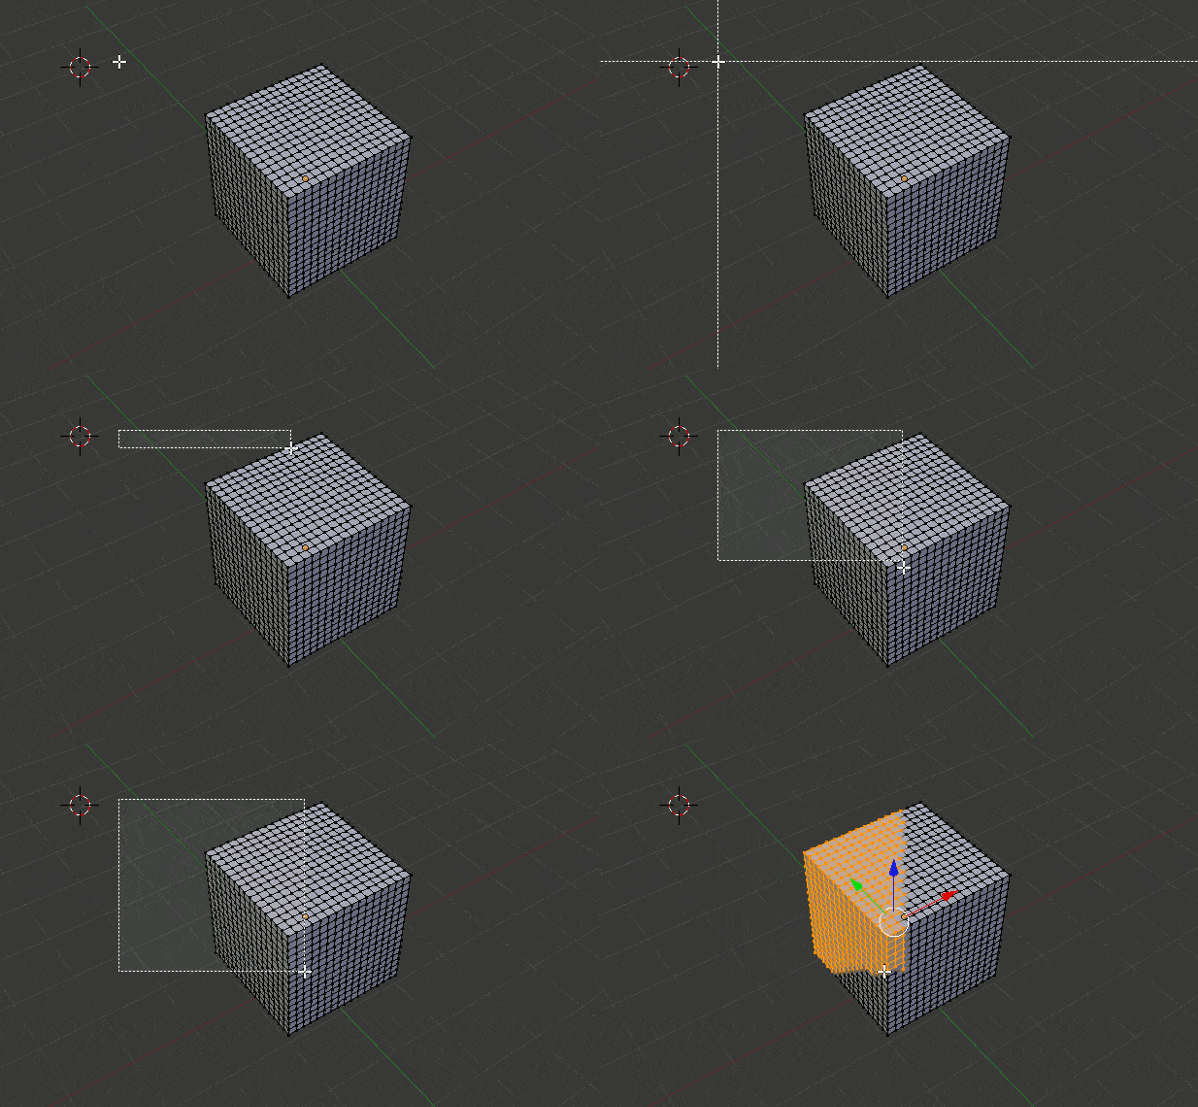
To select in a box or rectangular pattern, hold down the B key, left click and hold, while dragging the mouse over the area you want to select. Press ESC or right click to cancel selection tool.
Circle Select
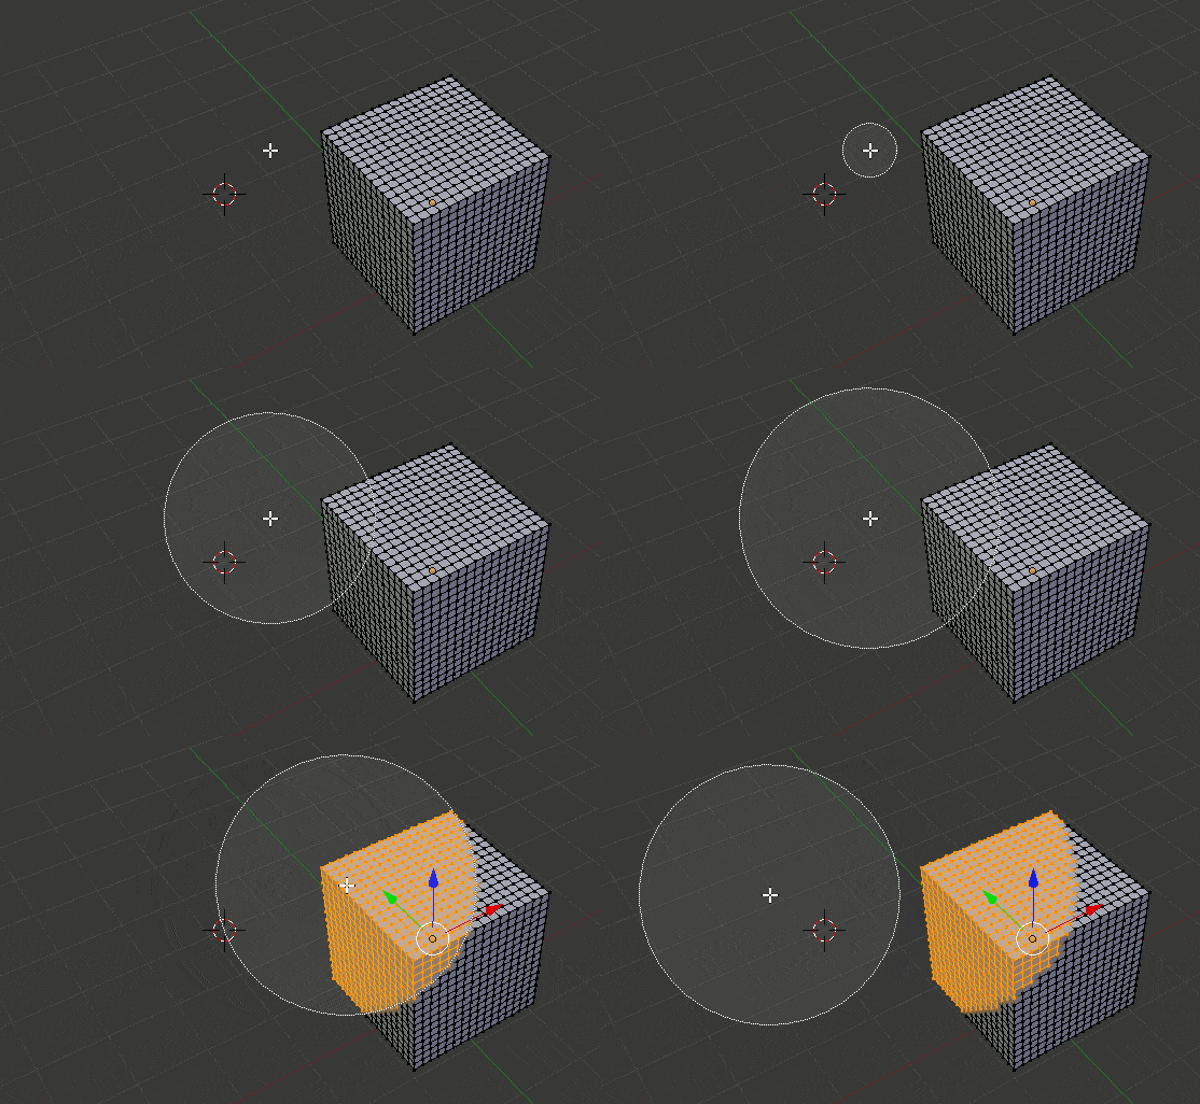
To select in a circular pattern, press the C key. Then use the Mouse Wheel to increase or decrease the radius of the circle, move over select and left click to select. Right click or hit ESC to cancel selection tool.
Lasso Select
You can preform a free form lasso style selection. To perform a lasso style selection, hold down the Control key, click and hold the Left Mouse Button and drag mouse around selection area. You can then use Control + Shift + Left Mouse Button drag to unselect within a selection. Once again, press ESC or Right Click to cancel the tool.
Pressing A will remove any current selection.
Camera manipulations in Blender
Now we will look at how you actually manipulate the application camera in Blender.
Zoom the Camera In/Out
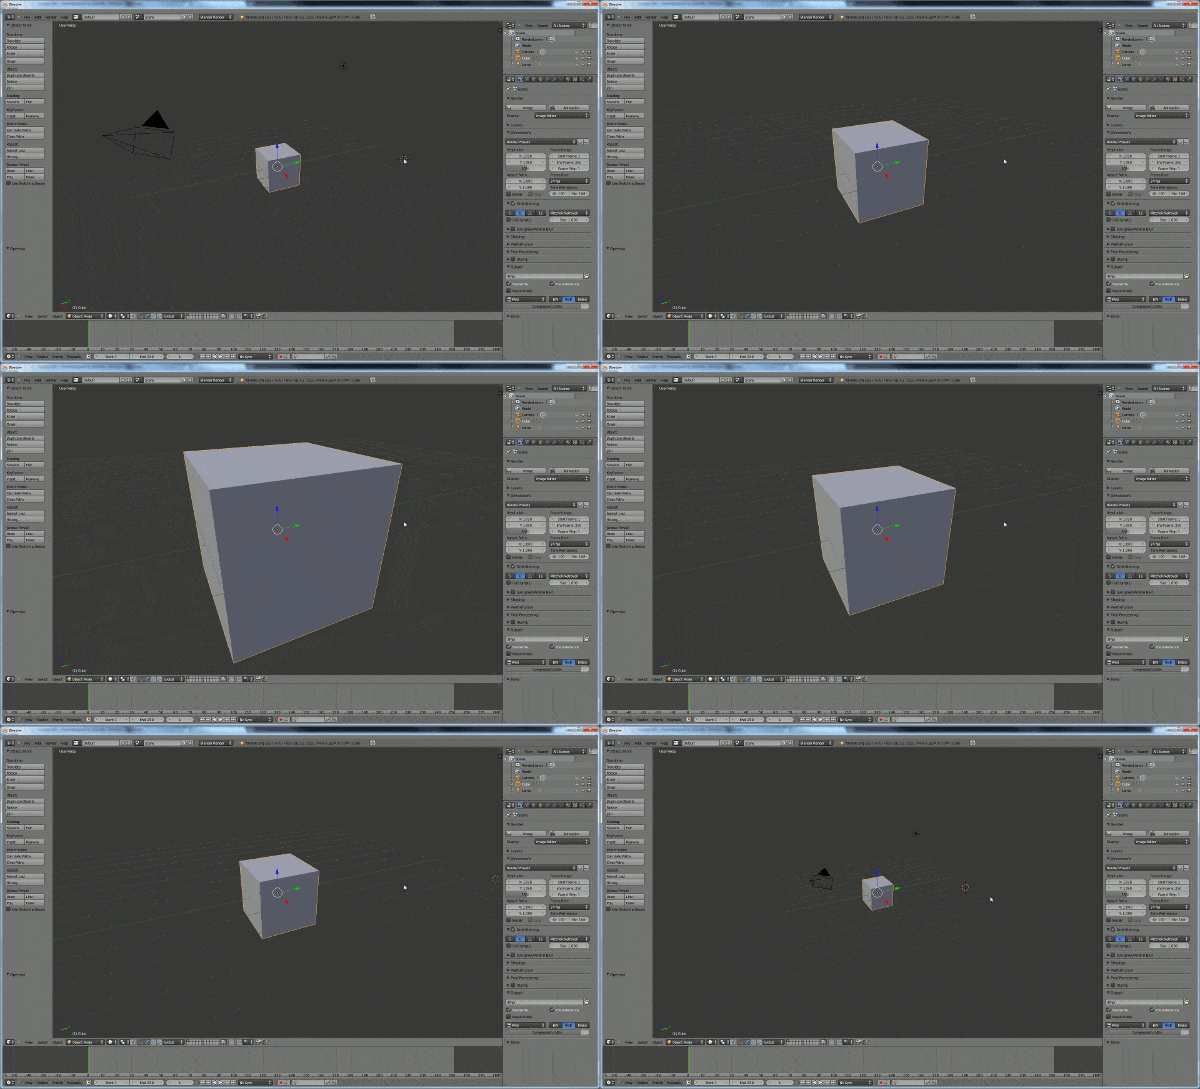
You can zoom the camera in and out using the mouse wheel. Scroll the wheel forward to zoom in, toward you to zoom out. You can also zoom out using the – (minus) Key and zoom in using the + (plus) Key. If you don’t have a scroll wheel and don’t want to use the keyboard, you can also zoom using by holding Middle Mouse Button + Control + Drag.
Panning the Camera
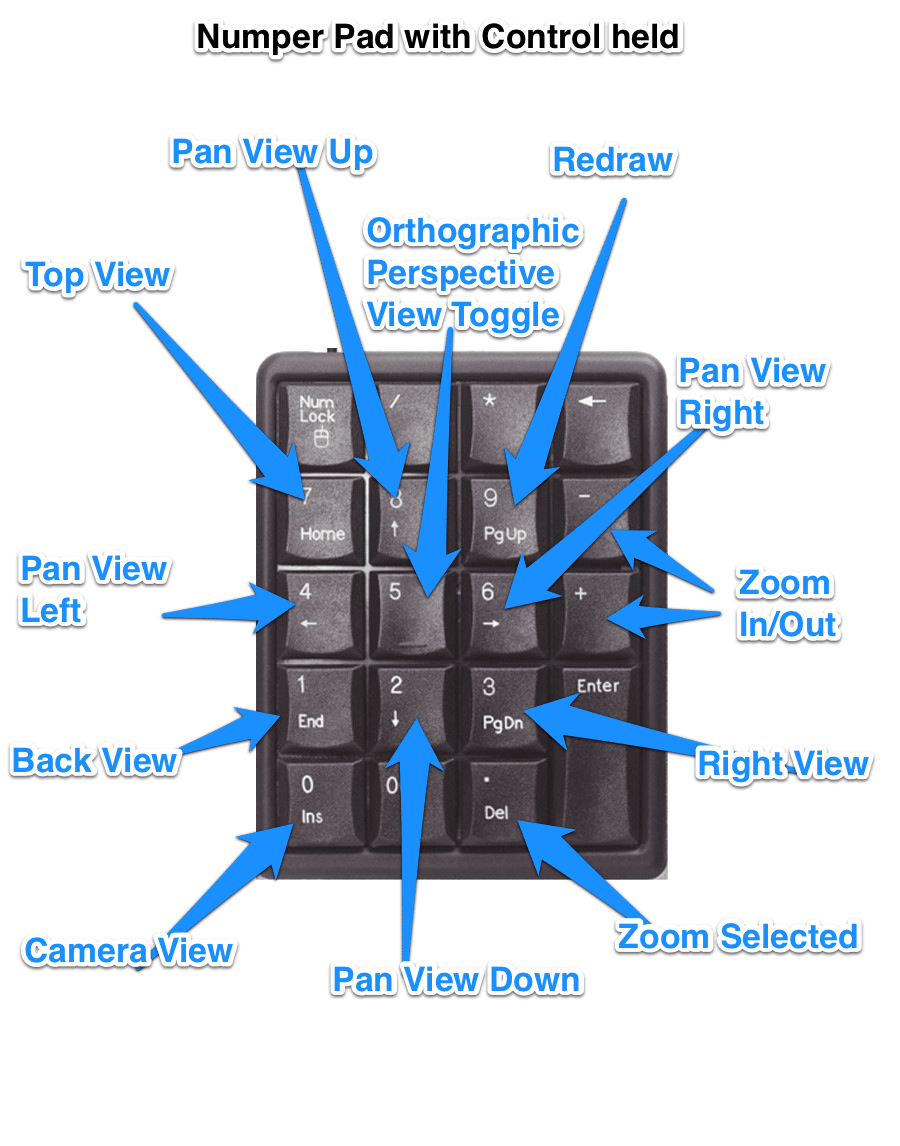
Panning the camera is the act of moving it left/right or up/down. You can pan the view using Middle Mouse Button + SHIFT + Drag. You can also pan by holding Control + an arrow on the number pad, CTRL+8 for up, CTRL+ 4 for left, CTRL + 6 for right and CTRL + 2 for down. Keep in mind, these are specific to the number pad, CTRL + # performs a completely different operation.
Rotating the Camera
You can rotate or orbit the camera by holding the Middle Mouse Button + Drag in the direction you want to rotate. You can also rotate using the number pad, using the 2, 4, 6 and 8 keys. Again, this only applies to the number pad, not regular number keys.
Frame Selected
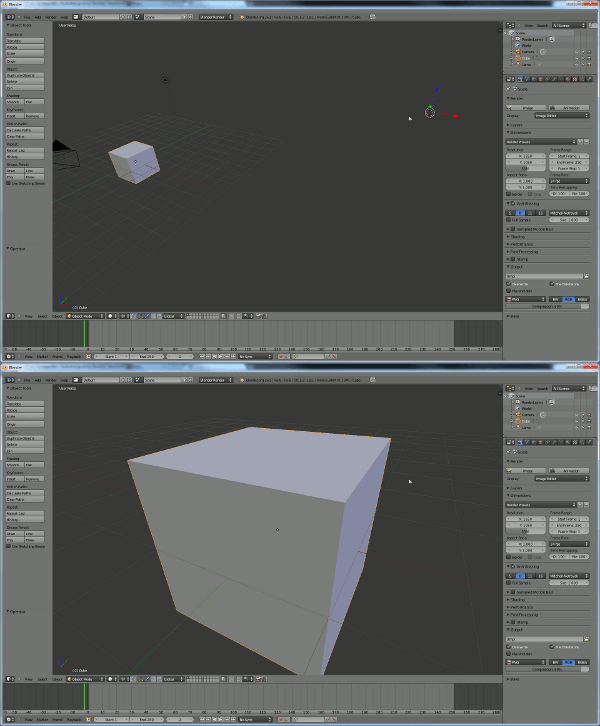
You can have Blender automatically zoom and pan the view so the screen is full of the selected object. To frame selected, first select an object in the scene by right clicking it. Then press the . (period) Key.
Hotkeys / Actions used in the Tutorial
| Key/Action | Action |
|---|---|
| A | Select/Deselect All |
| B + LMB + Drag | Box/Border select |
| C + LMB + Drag | Circle select |
| CTRL + LMB + Drag | Lasso select |
| –
or CTRL + MMB + Drag or Scroll wheel |
Zoom out |
| MMB + SHIFT + DRAG
or CTRL + 2/4/6/8 on numpad |
Pan view |
| MMB + Drag
or 2/4/6/8 on numpad |
Rotate View |
| . | Frame selected |
Number Pad Commands
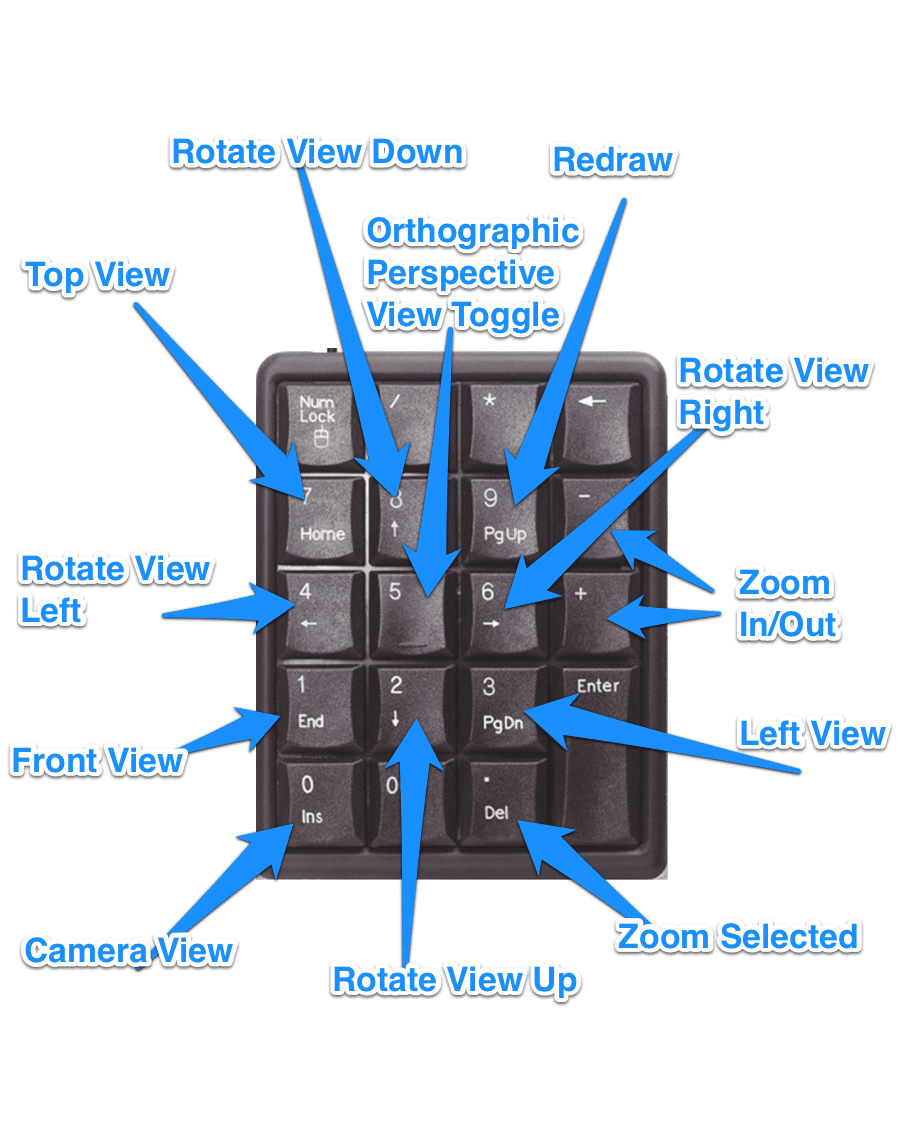
The number pad plays an important roll in Blender, which can be a bit difficult if you, like me, have a laptop without a full number pad. Don’t worry, most of this functionality can be achieved through other means ( many of which are shown above ), but if you have a number pad on your keyboard, grow to love it, it is well used in Blender. The following are a map of functions tied to the number pad. The second graphic shows the effect of the Number Pad with the Control Key pressed.
Number pad mappings
Number pad mappings with Control pressed
Coming Next
Next we will look at the basics of modelling in Blender.
On to next part

